A Complete Beginner Guide to Git and Github6 min read
If you are a software developer, using Git is inevitable during software development, especially when doing open source Github is an ideal place to store source code and collaborate with other developers. But what Git and Github mean? In this article, we are going to answer this question and learn how to use Git for the very first time.
First, what are Git and Github?
Git is a distributed version-control system for tracking changes in source code during software development. It is designed for coordinating work among programmers, but it can be used to track changes in any set of files. Its goals include speed, data integrity, and support for distributed, non-linear workflows.
Github is not a distributed version control, but rather:
GitHub is a web-based hosting service for version control using Git. It is mostly used for computer code. It offers all of the distributed version control and source code management functionality of Git as well as adding its own features.
Let me explain a little. Basically, everything you will learn is about Git commands – a distributed version control (there are many other version controls but Git is the most successful one). Github does nothing special in Git universe – it’s just like another Git repository not from your computer but on the cloud. If you don’t need to work with anybody else, you don’t need Github. Yet, it’s rarely in case, we want to work with others. That is the reason why we need Github!
Also read:
A Complete Beginner Guide to Git and Github Part 2
With no further ado, let get started to learn some essential Git commands.
Git fork, clone

When you go to Github.com and see some projects from others that are interested you. You can click on Fork to create a sub-project on this project and this sub-project with exactly the same version is now exist on your own repository(but it is the copy version).
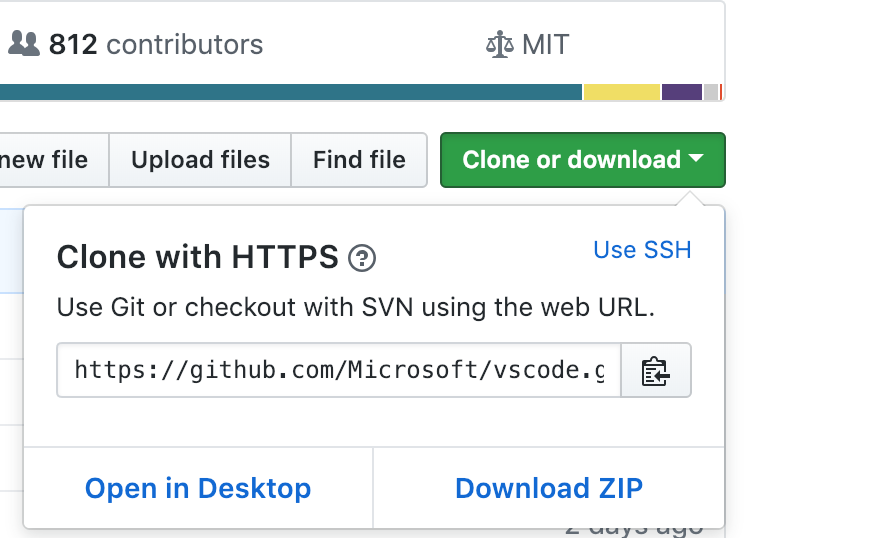
To clone a repository to your computer, just open your terminal and cd to the folder that you want to put that repo in then clone by copy this link and paste it into your terminal by this command:
git clone <url of the repository>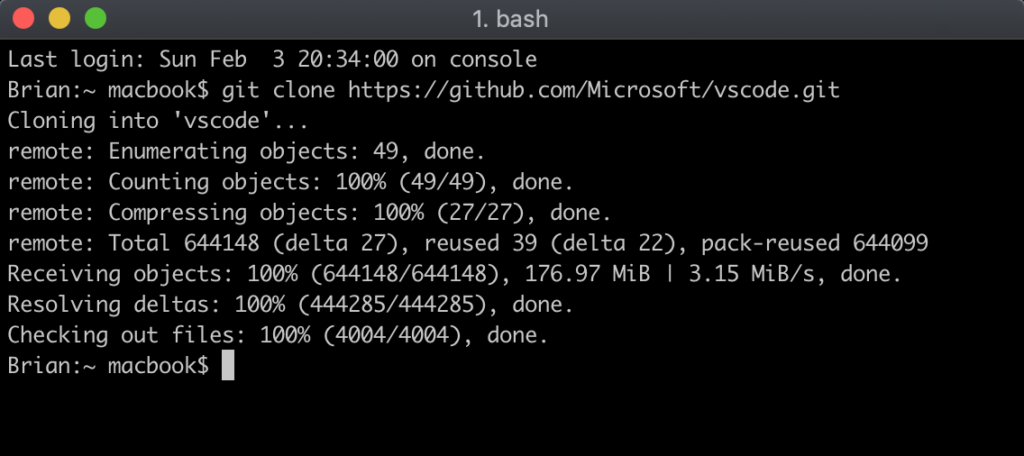
Git add
Suppose you want to add a file
git add <your file name>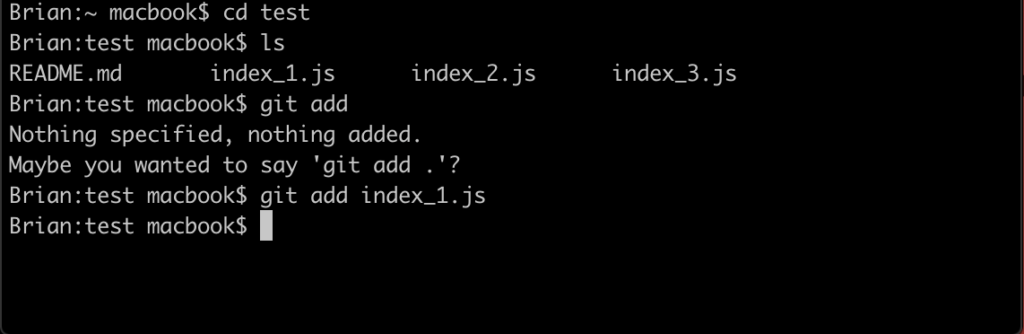
As you can be observed, on this local repository I just want to add index_1.js
git add . This command will add all the files to your repository contemporarily.
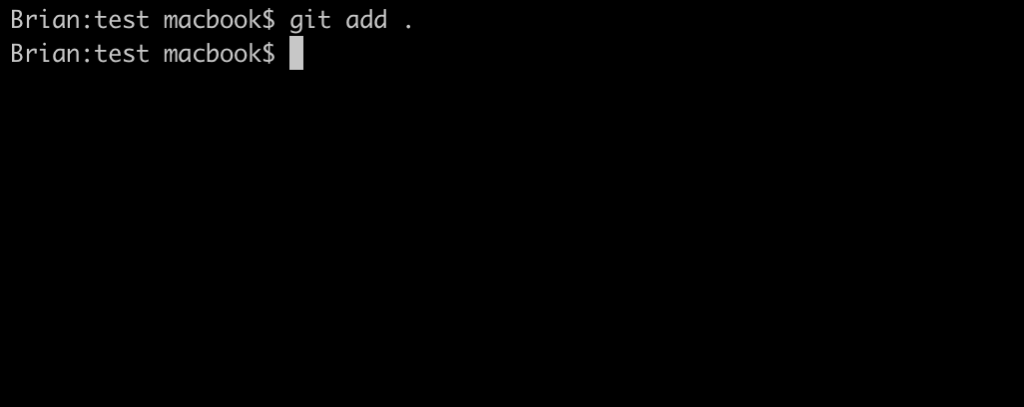
It seems like nothing appears when you add something and don’t worry about it because it indicates that all of your files in this location have been added and available to commit.
But let’s clarify, the files you just added it actually exists on the repository already. So what does ‘add‘ mean? The repository that you are working with on your computer consists of 3 states (or trees): Working directory (the repo that you work with on your computer), Index (in the middle of working dictionary and the rest part – HEAD) the add’s role is in index, HEAD is the final state that displays the last commit you’ve made.
Git commit
After adding some changes, you need to tell other people what you’ve done whether you just fix a problem or update a new change, feature, etc…This command will help people envision that:
git commit -m "commit message"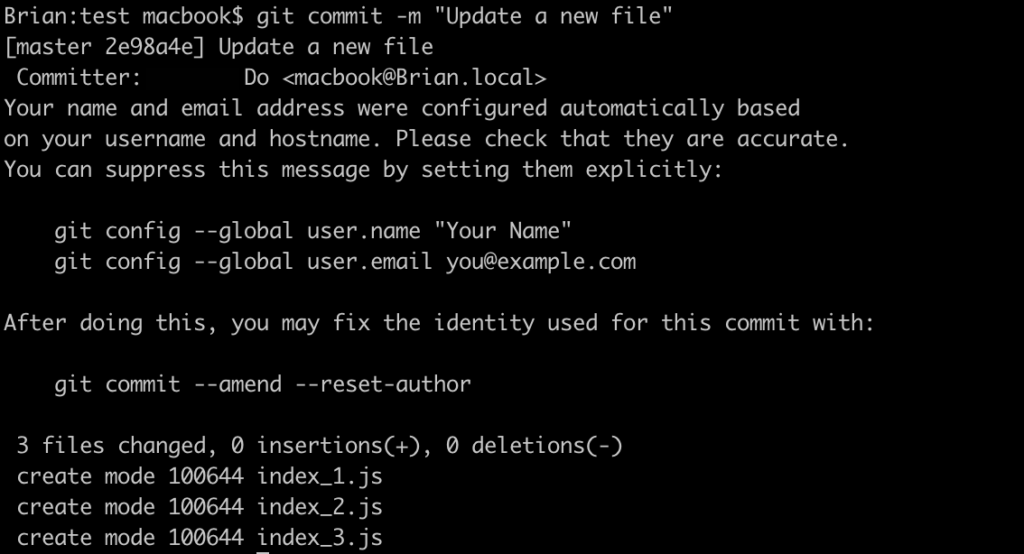
Git push
After you finish committing, all of the changes now in HEAD. But actually, when you refresh your repository on Github, nothing changed yet. In order to send those changes to a repository on Github (a remote repository), you have to push it.
git pushThis command will push the changes to the original branch, default by the
That command below still pushing something to the master branch, but this command is a little bit flexible because you can modify or change master to what branch you want.
git push origin masterIn a circumstance that you have a repository on your computer and want to connect with a remote server, but you didn’t clone the existing dictionary yet. First, you need to add your repo to a remote server.
git remote add origin <server>Now you can commit and push something normally by git push commands above.
Git pull
Sometimes one problem might arise, the versions of your local and the remote repositories are not the same, the remote repository has added some new files, delete something or make some changes and your local repository is out of sync. You cannot push your code to Github when you’re in this state. To keep everything up-to-date, we need to pull down a
git pullOr you can pull down any branches you want by changing the
git pull origin masterThanks for reading, you’ve done reading part 1 of this series.
Hi, I just updated part 2 of this series: A Complete Beginner Guide to Git and Github Part 2. You can click here to redirect.
