JavaScript Tips & Tricks: Go Beyond console.log()11 min read
If you use the browser as your debugging tool for your JavaScript code, then the console.log can be used intensively, whether you just want to see a message from a function, a variable or trying to find something that lurking in your program, console.log comes to play and unfolds the message right in the console. However, console.log has its role and its limitation, there are many other options besides the log to make our work much easier if we can use those appropriately. Let’s find out what are they, how they can be used to make your debugging process more effective.
Table of Contents
console.dir
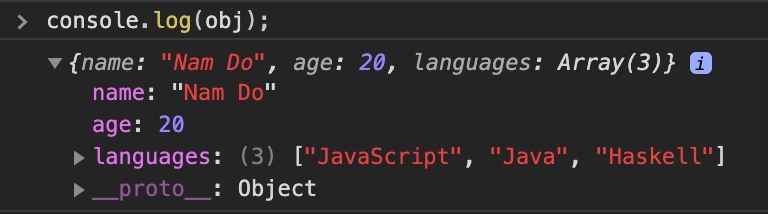
First, we jump in an option looks quite the same as console.log, which is console.dir, for example, we have a simple object like this:
let obj = {
            name: "Nam Do",
            age: 20,
            languages: ["JavaScript", "Java", "Haskell"]
        }
If we use the console.log to print this object out, then we can see this object display in the console:
But instead, if we use console.dir, it shows us a little dropping down arrow for the same exact as console.log.
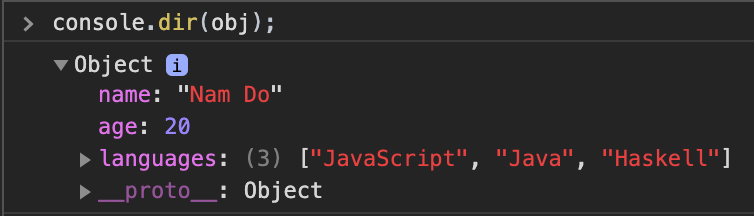
So, why bother using console.dir while we can achieve the same thing as console.log? The fundamental difference between console.log and console.dir is, while console.log prints the element in an HTML-like tree, console.dir prints the element in a JSON-like tree as the output.
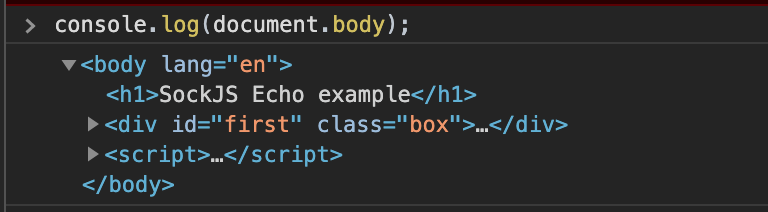
Let’s take another example to demonstrate the difference between them, I already have an HTML page and want to print out the body of this page by using console.log(document.body), here is what I get:
Now let’s get the body of the page by using console.dir(document.body), instead of displaying all the tags on our HTML page, console.dir gives us a full representation of the JS object. The output is kind of long, hence I truncated it:

As stated above, console.dir is useful when you want to see a full representation of the JS objects, it displays an interactive list of the properties of the specified JavaScript object as a hierarchical listing.
Interpolating on the console.log
Strings displayed in the console.log can be interpolated, much like the System.out.format in Java or printf in C. You put a placeholder such as %s represents a string and pass a value to it in the second parameter:
console.log("I'm Mr %s, look at me!", "Meeseeks");
// I'm Mr Meeseeks, look at me!
How many extra parameters you need to pass depends on how many placeholders you have in the string, if you have 3 placeholders in your string, you should give 3 values for 3 of them accordingly, if have two placeholders but you just give it 1 value, then the second placeholder will display itself. If you pass extra values but insufficient placeholders, then this value will append to the end of the string:
console.log("I'm Mr %s, %s look at me!", "Meeseeks");
// I'm Mr Meeseeks, %s look at me!

console.log("I'm Mr %s, look at me!", "Meeseeks" , "Another Meeseeks");
// I'm Mr Meeseeks, look at me! Another Meeseeks
Not only we can use %s for interpolating, but also there are a number of different options for us:
%d - for displaying decimal format
%o - for displaying an object
%c - for displaying CSS value
The first option looks intuitive, let give a try on the second one %o – which displaying an object inside a string:
let book = {
            title: "Unknown",
            length: 234,
            price: 12.5,
            rated: 5
        }
console.log("A book object is a object %o...", book);
Output for this:

Let’s move on the last interesting one %c:
let colors = ["color:red", "color:blue", "color:green"];
console.log("%cHello, %cWorld a %cthousand time!", colors[0], colors[1], colors[2]);
Here is what we get:

console.table
Next, we examine another favorable option for displaying tabular data, which is the console.table, it accepts one mandatory argument data which must be either be an array or an object and one additional optional parameter columns. In case if what you pass in the console is an array, then the first column will indicate the array elements’ indices. Otherwise, if you take an object as an input, then the first column will signify the object’s properites.
For better envision, let’s create some examples. We firstly pass an array to the console.table and see the output:
let fruits = ["apple", "banana", "orange", "mango", "lemon", "strawberry"];
console.table(fruits);
If we run this code, we will get the result like this:

For an object, the properties of this object will be displayed in the first column. Let’s define a function constructor and display an object created from this function by console.table:
function Person(firstName, lastName){
            this.firstName = firstName;
            this.lastName = lastName;
        }
let person = new Person("Thomas", "Johnson");
console.table(person);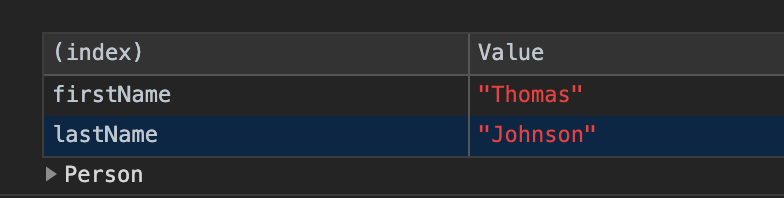
If now we just want to display the first name of objects, we can use the second parameter columns which designate the subset of objects to be displayed:
function Person(firstName, lastName){
            this.firstName = firstName;
            this.lastName = lastName;
        }
let john = new Person("John", "Smith");
let jane = new Person("Jane", "Doe");
let emily = new Person("Emily", "Jones");
console.table([john, jane, emily], ["firstName"]);
Output:
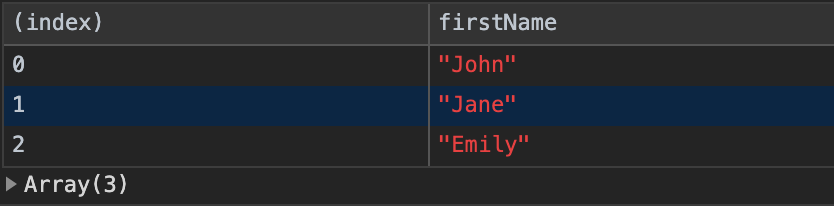
In this code above, we pass an array containing person objects, because it is an array hence the first column will display the index number. In the second parameter columns, it will find an exact property of the object that might have that we passed in, in our case firstName and displays it. If there is a mismatch, then no property will be displayed, just the indices.
console.warn, and console.error
We can also display messages by using console.warn or console.error, if there is a warning message, then console.warn might be appropriate, if there is an error message, console.error should be used:
console.warn("This is a warning message");
console.error("This is a error message");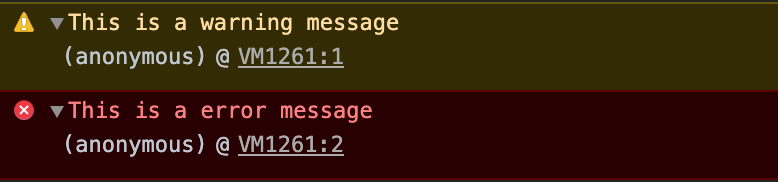
Also if we open up the triangle, we can see exactly where it fired those messages.
console.assert
This is a useful console option for assertions. If the assertion is true, nothing happens, but if the assertion is false, then the error message will be written to the console.
For example, we pass a true assertion to the console:
console.assert(1==1, "This is not true");Because the first part is true, then nothing displayed. But if we pass a false assertion, then an error will be written to the console:
console.assert(1==2, "One doesn't equal to Two");
console.group
The console.group is a little bit complex, it is used to group things as its name. For example, without console.group we have a snippet like this:
function Person(firstName, lastName, age) {
            this.firstName = firstName;
            this.lastName = lastName;
            this.age = age;
}

var john = new Person("John", "Smith", 22);
var jane = new Person("Jane", "Doe", 33);
var emily = new Person("Emily", "Jones", 44);
var people = [john, jane, emily];
people.forEach(person => {
            console.log(person.firstName);
            console.log(person.lastName);
            console.log(person.age);
});
Also read:
Our intention is writing to the console every property of 3 objects Person which we store in the array named people, after running this code, the output is kind of messy and we hardly to tell them apart:

We can use console.group to help us in this situation, we can group the objects together by using their firstName property.
 people.forEach(person => {
            console.group(person.firstName);
            console.log(person.firstName);
            console.log(person.lastName);
            console.log(person.age);
            console.groupEnd(person.firstName);
        });
For each call inside the forEach method, we write console.group(${person.firstName}) for displaying the first name for each group. By doing that, the console.group has nothing to do with the objects itself, it just simple grouping by what we pass into it.

Look much better by grouping each object by its first name, and remember console.groupEnd when you’re done with grouping. You can also use console.groupCollapsed instead of console.group if you want the block to start off closed.
console.count
If you wan to find out how many times you use a specific string, DOM element, object, etc…This option logs the number of times that this particular call to count() has been called. For example:
console.count("object");
console.count("object");
console.count("object");
console.count("object");
console.count("object");
console.count("object");
console.count("object");
console.count("object");
Here is what we get after running this snippet:
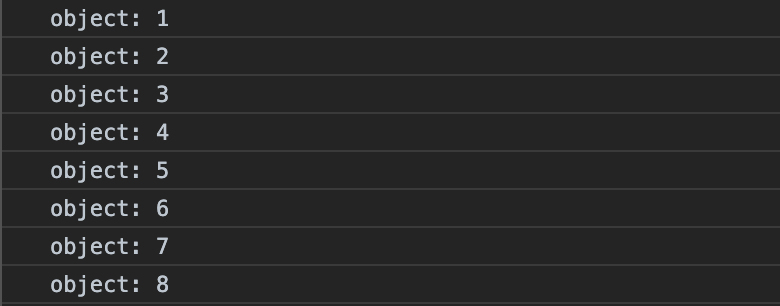
There is also a related option named console.countReset if you want to reset the counter.
console.time
If you want to find out how much time has elapsed since the function run, we can bail on console.time for this purpose, for example, we have a function that takes 1000000 random numbers and sum all of them together, let’s estimate how much time needed in order to accomplish it:
var sum = 0;
console.time();
for (let i = 0; i < 1000000; i++) {
     sum += Math.floor(Math.random() * 100);
}
console.timeEnd();
We are not interested in the sum of this code, first, starting off by putting the console.time right above the function that we want to calculate, then after finishing this function, we write console.timeEnd to finish the estimating. It simply just takes the time after finishing this function (approximately, when reaches console.timeEnd) and subtract the time it was starting (console.time). Here is approximately how long it takes to run this code in my computer, the result might be different in yours:

